
 Check what I've done.
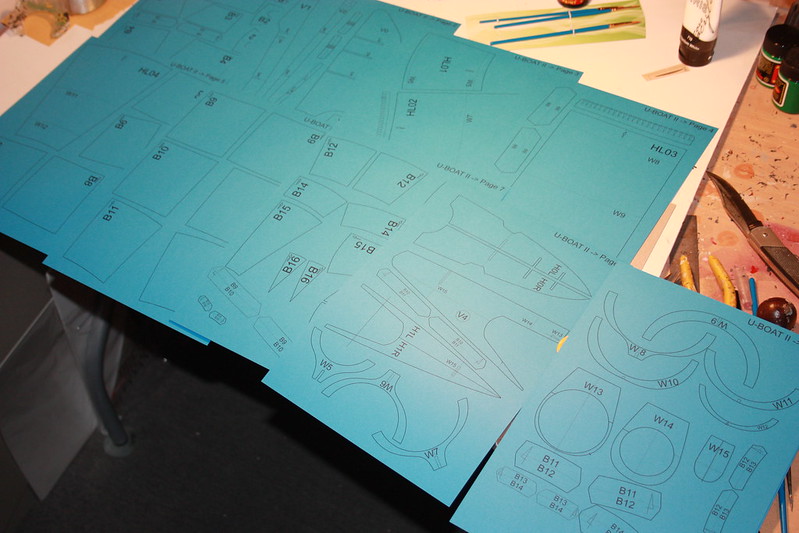
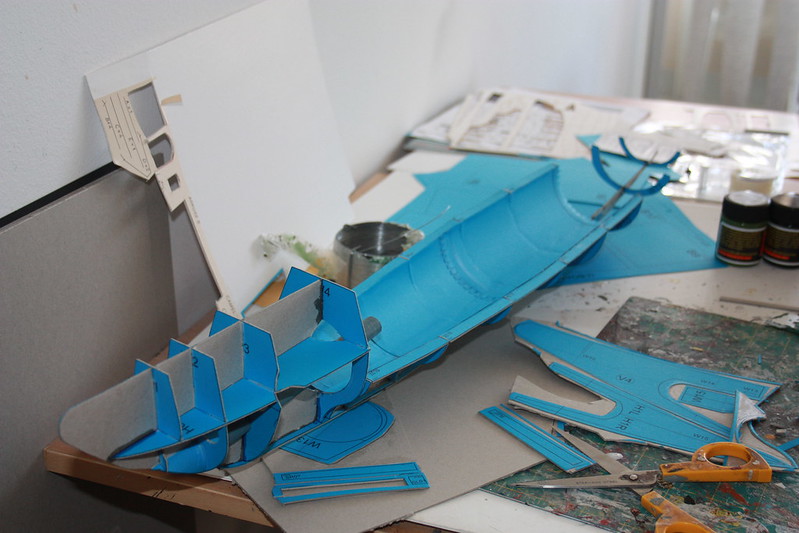
First of all I "unwrapped" and printed out the internal details of the model - skeleton. These details are mostly flat, so that was a trivial task.
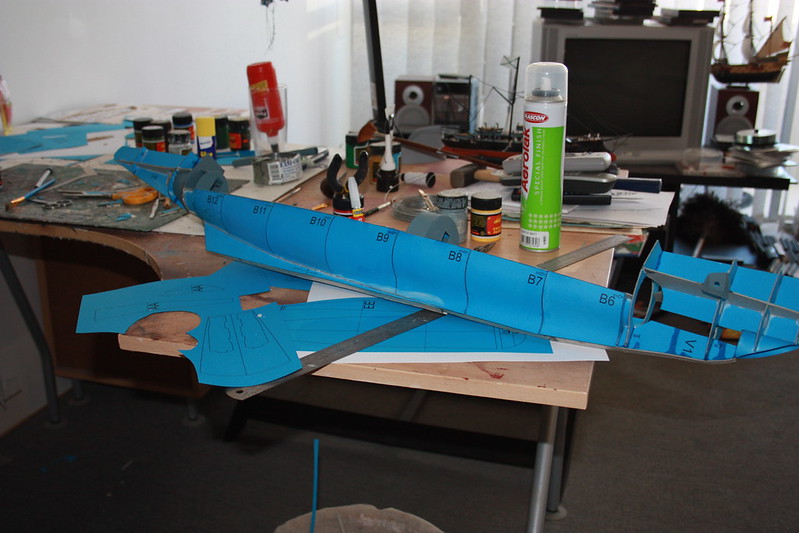
That how it looks like on my working table:
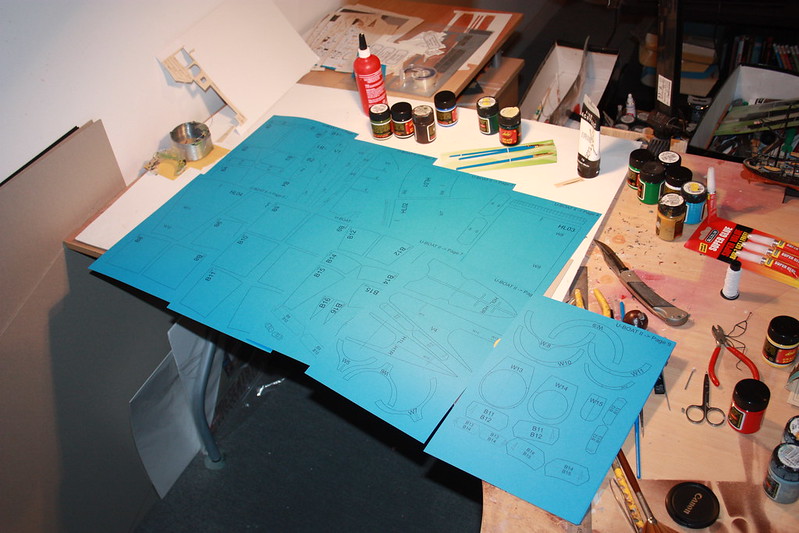
Actually there were much more details but what you see just fits my table well :-)
Then I glued the individual details on thick cardboard. These components will form the stiff skeleton of the model.

Then I cut them out and started to compose the submarine- skeleton:

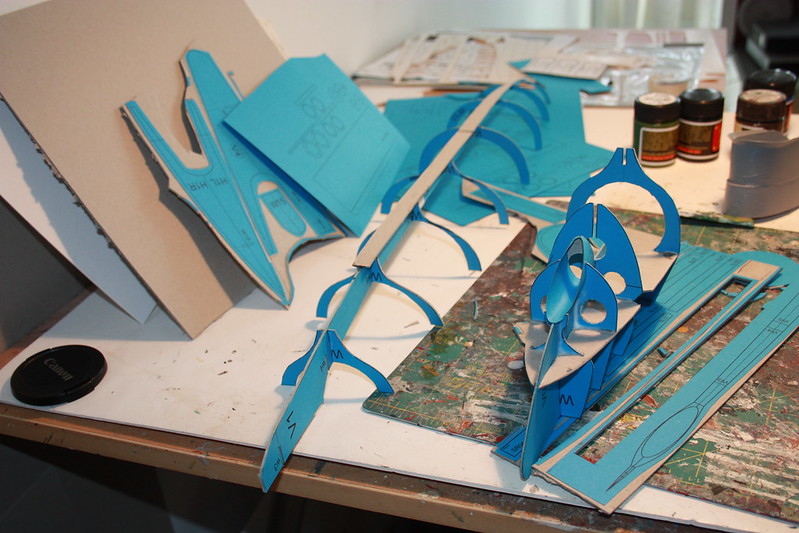
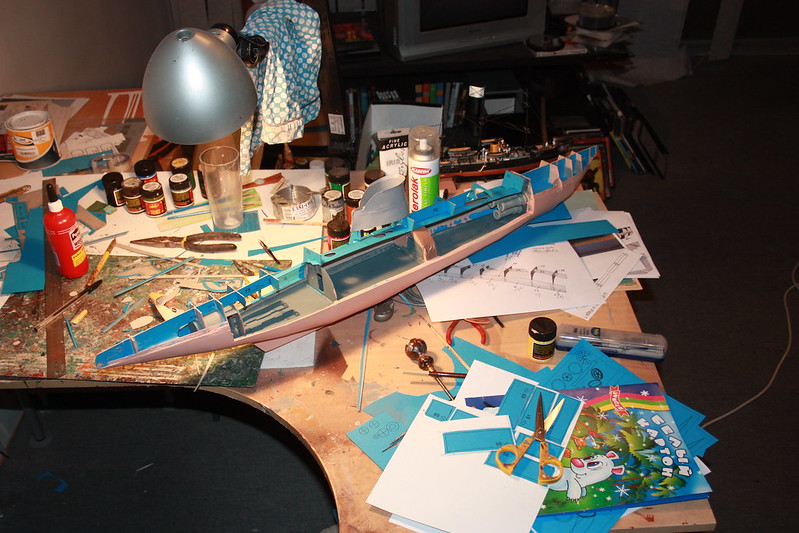
The major complexity of the model was issued by implementing a pressure hull with the interior details. You can see how elements of the pressure hull is been built into the external body of the model.
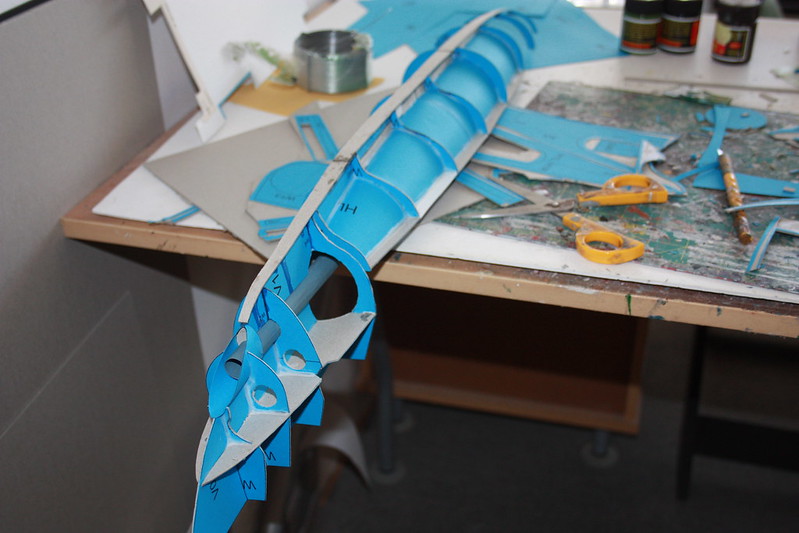
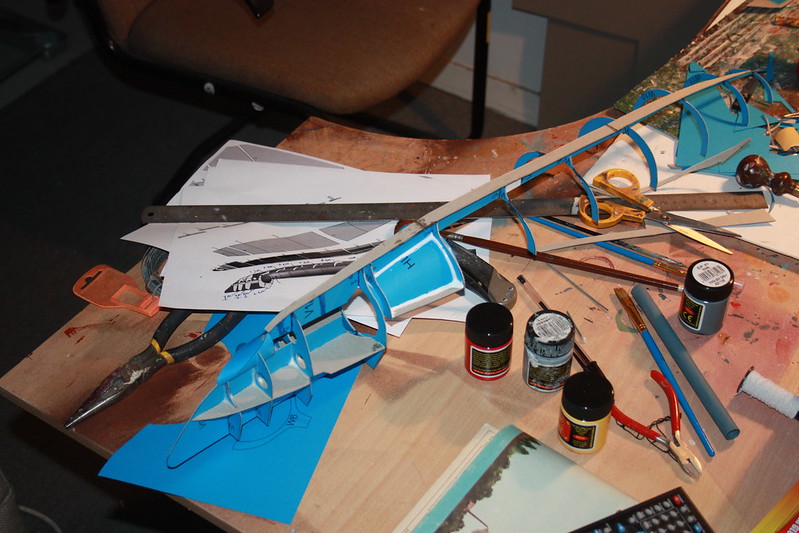
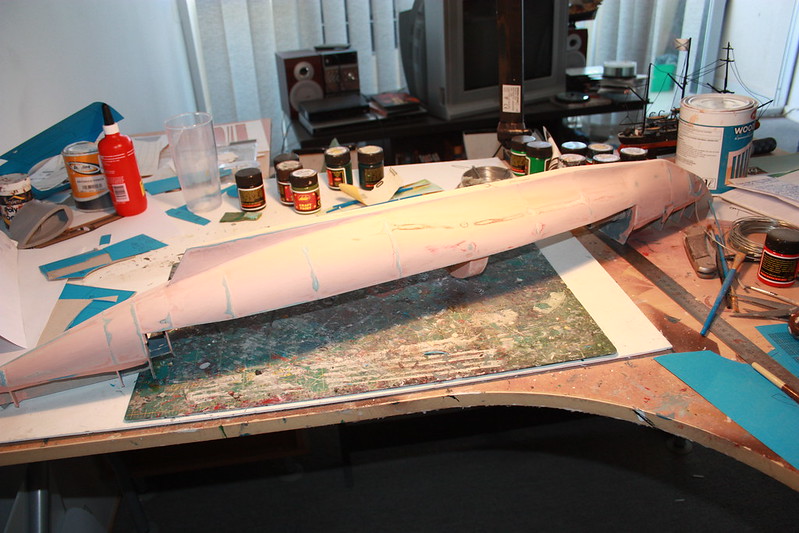
Forming the right shape:
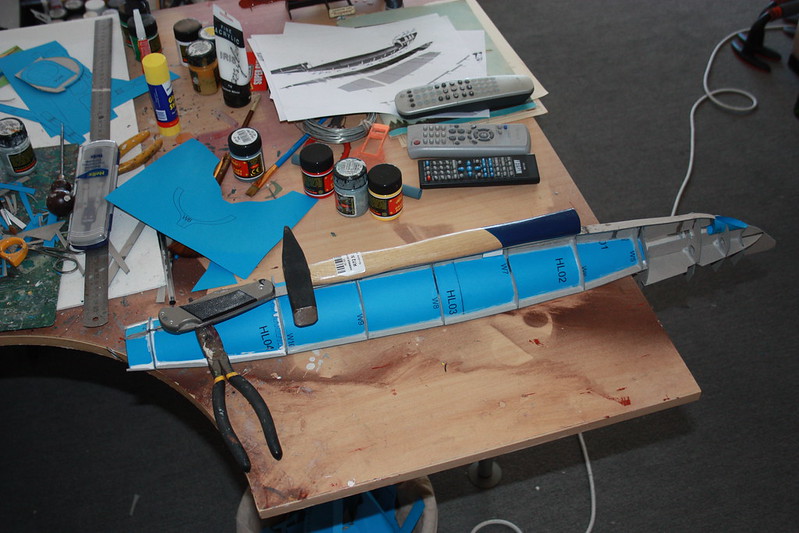
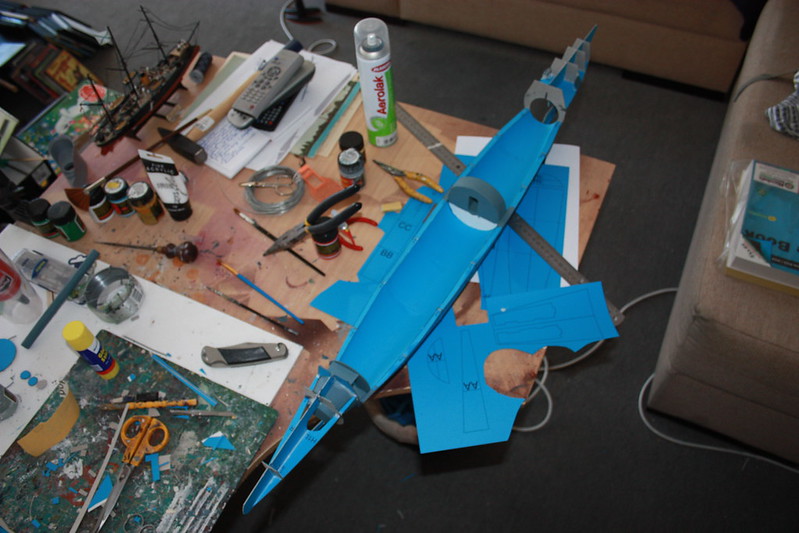
Here I started to form the external, bottom parts of the U-boat.
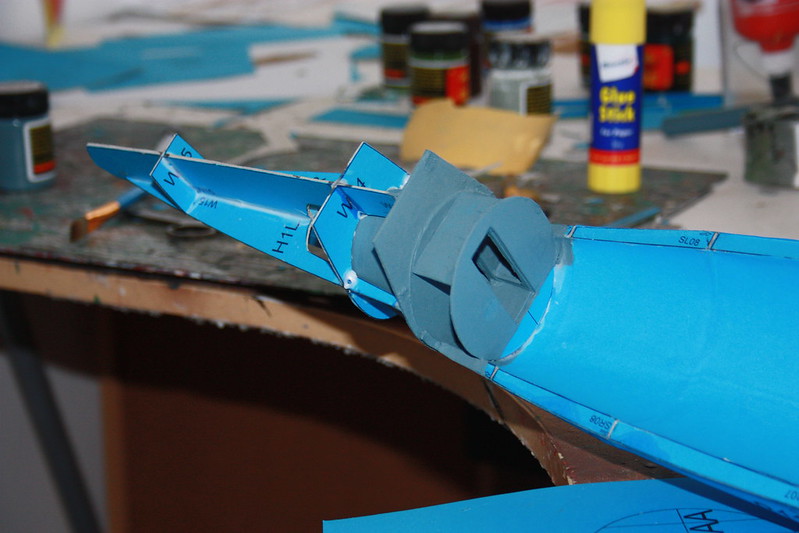
Yes, I forgot to say, that the model has been built in scale: 1:100. It is pretty big thing.

It's a draft stage of the project, therefore I don't worry about patches and extra glue on the seams.
Torpedo tubes:
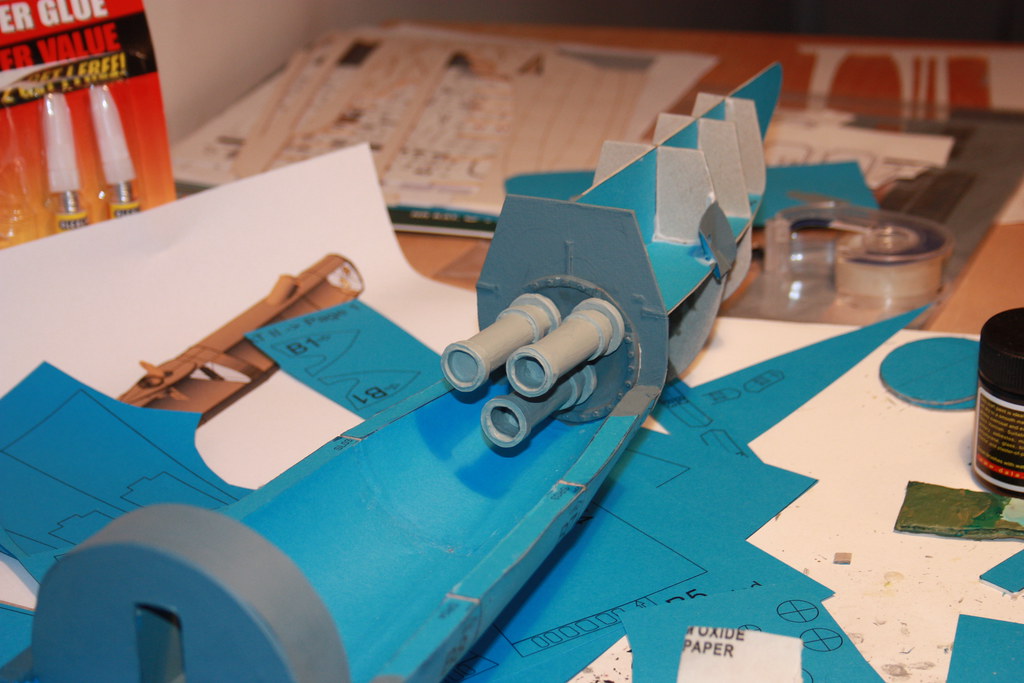
...
... they go through the U-boat body:
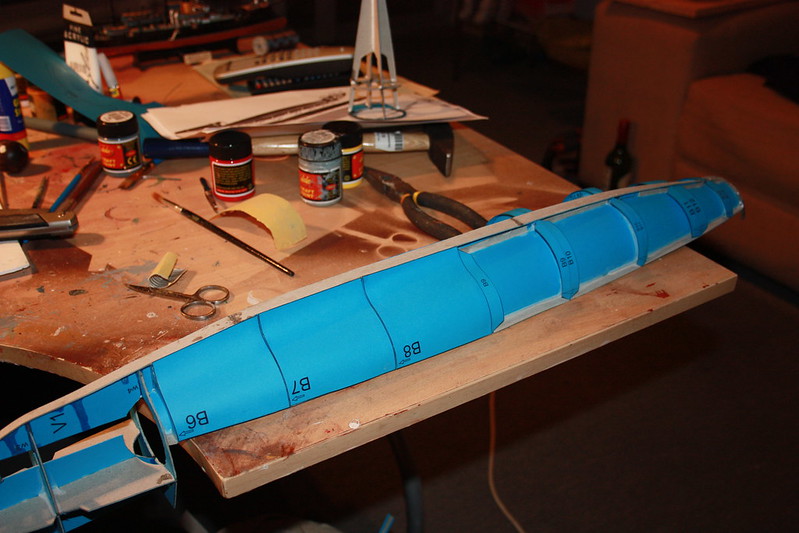
I use primer to make the proper bottom (nice and smooth). It's a long and iterative process. I sand the surface and then cover is with the primer again, then again and again...
Here I formed the floors inside the pressure hull:
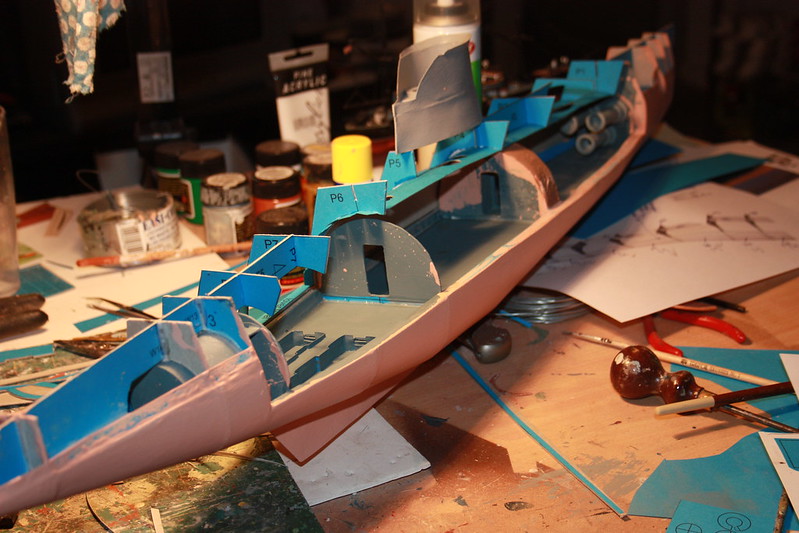
The compartment will be visible via right side of the submarine. The left side will be closed.

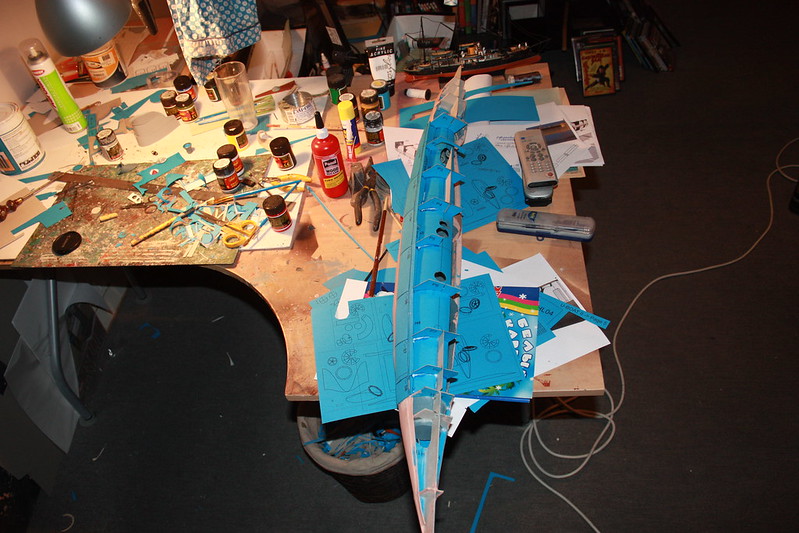

... to be continued...
No comments:
Post a Comment